
Planning Maps for UK Planning Applications
When you’re preparing a planning application, the map can seem like the easy bit. Find the property, draw a line around it and download the file. But which plan do you need, how much land should it show, and what happens if your site has no postcode? Here’s how to choose planning maps that explain your proposal clearly, without making the job more complicated than it needs to be.
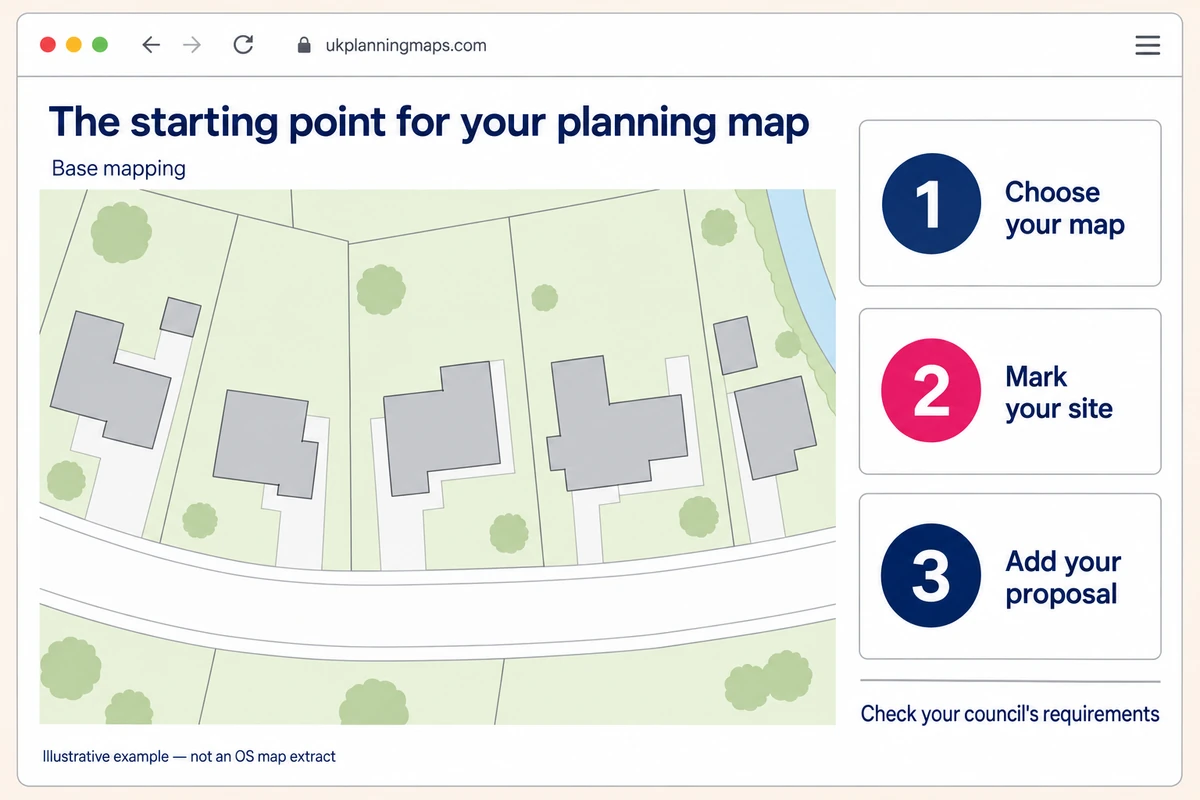
You may have been asked for a location plan, a site plan or both. Before ordering, check what your architect or designer is already providing. There’s no point buying a second copy of a plan that’s already included in their drawing package.
What planning maps need to show
Start with your local planning authority’s validation checklist. This sets out the documents it needs to check an application. Requirements depend on the proposal and where you’re applying; guidance for England should not be treated as a single rulebook for the whole UK.
Our sister website, Planning Maps UK, has a planning authority directory to help you find your council’s website. Follow through to the council’s current guidance and check that it covers your application type.
In England, the government’s guidance on plans and drawings says the red line should enclose all land needed for the development. That can include access from the public highway, parking and landscaping, not just the building itself. A blue line identifies other land owned by the applicant nearby or adjoining the site. Simply using or managing neighbouring land does not automatically make it blue-line land.
The location also needs to be recognisable. Keep enough surrounding roads and buildings visible, with the north point and stated scale clear. A scale bar is useful, especially on screen, and may be requested locally; it is not a universal statutory requirement in England.
Location plans and site plans are different
A location plan gives the wider view. It helps someone who has never visited the property work out where it is. A site plan, also called a block plan, looks more closely at the site and the development within it.
For a rear extension, think of the location plan as the sheet showing your house on its street. The site plan is where the proposed extension, garden, access and relevant neighbouring buildings can be shown in relation to one another.
Location plans are commonly produced at 1:1250 or 1:2500. Site and block plans are often at 1:500 or 1:200. The Planning Portal explains the distinction, and our location plan versus site plan guide walks through the choice.
There’s an important difference between buying base mapping and having a proposed site layout prepared. The map will not automatically show your extension, new parking spaces or altered entrance. Agree who will add those details before you order.
When a block plan needs more detail
The closer view needs to explain what is there now and what you want to change. Depending on the application, that might include buildings, access, parking, trees, boundary treatment and the position of neighbouring properties.
For example, if you’re removing a garage to create access to a new dwelling, make both changes clear. Don’t leave the reader guessing whether the garage stays or how a car reaches the new plot.
Keep labels short and distinguish existing features from proposed work. Detailed construction notes usually belong on separate drawings. If accurate dimensions or ground levels are needed, ask your designer whether a measured survey is required; enlarging a map does not create survey detail.
Choosing the right scale for your application
Scale makes more sense when you think about the space available on the page. At the same paper size, a 1:2500 map covers a wider area than a 1:1250 map. A 1:200 plan gives a closer view than 1:500, but fits less land on the sheet.
For a house on an ordinary residential street, a 1:1250 location plan may provide enough context. A rural property with a long access track may need the wider coverage of 1:2500. Check the whole route, not just whether the building fits neatly in the middle.
The same applies to site plans. A small plot may fit comfortably at 1:200. A larger site may be clearer at 1:500, with room for the features needed to explain the proposal. Use the council’s accepted scales and agree the coverage with your designer.
Keep the downloaded PDF at its original page size. When printing, select the intended paper size and use “Actual size” or 100%, checking that nothing is cut off. “Fit to page” can change the printed scale. Adobe explains these print settings.
A scale bar can still help when a plan is enlarged or reduced proportionally, but it does not make a resized print match the numerical scale written on the page. Keep the original PDF for submission.
Why licensed mapping matters
A map found online is not necessarily yours to copy into a planning application. Check that the mapping is licensed for the use you need, and keep the supplied copyright acknowledgements and licence information visible.
UK Planning Maps supplies Ordnance Survey mapping for location, site and block plans. The OS MasterMap Topography Layer covers Great Britain: England, Scotland and Wales. Northern Ireland has separate mapping arrangements.
Good base mapping is useful, but it is not proof of ownership. Ordnance Survey explains that its mapping shows physical features, not legal property boundaries. Don’t assume a fence line on the map settles a disagreement with a neighbour.
Check the mapped layout against the site you know. If a recent building or important feature is missing, raise it before submission. Where the proposal depends on someone else’s land or an access right, get appropriate professional advice; drawing a boundary cannot resolve those questions.
A quick way to create your plan
You don’t need CAD software to order a PDF planning map. Find your property, choose the scale and position the map so the relevant area is visible. No postcode? Use our Advanced Search.
Add the required boundaries and any useful labels, then look carefully at the preview before paying. Zoom in to check a tricky corner, but also look at the whole page. A boundary that seems clear close up can disappear into the surrounding detail when reduced.
Before completing the order, check:
- You have selected the correct property and plan type.
- The map includes the whole application site and necessary access.
- Boundary lines are clear without hiding important detail.
- The scale, north point and surrounding features are readable.
If something is awkward, ask us. In a customer review, S P George described how Evelyn helped draw boundary lines and add a road name for a rural site. You don’t have to struggle with a difficult outline on your own.
Once the order is complete, download the PDF and check the file itself. Pass it to your designer if they are adding the proposed development.
Common planning map mistakes to avoid
One easy mistake is cropping too closely. You know exactly where your property is; the person opening the application may not. Leave enough context for them to identify it without searching another map.
Another is drawing around the building instead of considering the full application site. Look again at access, parking and any other land needed for the proposal. If you’re preparing plans for a client, ask them to confirm the boundary rather than relying on an old sales brochure.
Check that the same site boundary appears consistently across the drawing package. If a design revision changes it, update the affected plans together and make the current version easy to identify.
Before uploading, open the final file rather than judging it from the filename. Check that it contains the right property, the latest boundary and any proposed work that belongs on that sheet. Give it a useful name, such as “12 High Street – location plan – revision B”, and keep earlier versions in a separate folder so they are not uploaded by mistake.
For design work, our CAD maps are georeferenced. Ask your designer which file format they need, and have them check units and alignment when combining mapping with other drawings.
A well-prepared map helps explain the application; it does not guarantee planning permission. Ready to get started? Find your planning map, or call 01856 898 022 if you need help choosing the area or scale.
Ready to Get Your OS Plans?
Every plan is instantly downloadable, Planning Portal‑compliant, and includes all required elements. Get your plan now and submit your application with confidence.