
OS Mapping for Planning Applications Explained
If you've been asked for an OS map, it helps to know what the council actually needs to see. A clear view of the property is part of it, but the surrounding roads, application boundary and scale matter too. OS mapping gives you the background to work from. This guide explains how to turn that into a useful location plan or site plan for your application.
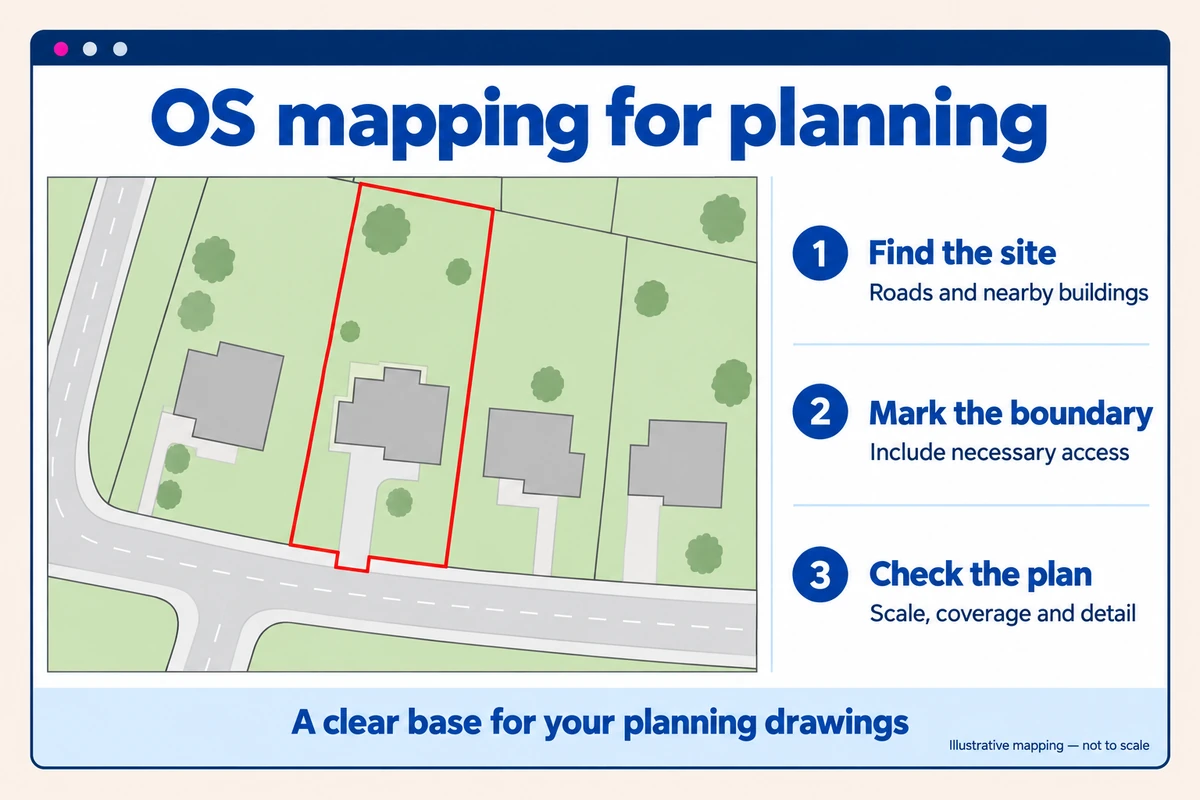
You don't need to understand mapping software to get started. The useful questions are simpler: have you found the right site, does the whole relevant area fit, and what still needs adding before the drawing is ready to submit?
What is OS mapping?
OS mapping is mapping based on Ordnance Survey data. OS MasterMap Topography Layer covers Great Britain: England, Scotland and Wales. It records physical features such as buildings, roads, paths, water and areas of land, giving you a detailed picture of a site's surroundings.
Our planning maps use OS MasterMap data. The Ordnance Survey product documentation explains how features are recorded by their position and shape. For someone preparing an application, the benefit is straightforward: you can see how your plot relates to the buildings and roads around it.
This is different from a walking map or an aerial photograph. It is also different from a drawing of your proposal. Your new extension will not appear on the existing mapping simply because you intend to build it.
OS mapping is widely used for planning, but don't confuse a familiar mapping source with a guarantee of acceptance. The finished plan still needs the right information. Nor should you assume every planning application must use OS exclusively; check your authority's requirements for the particular document.
Why OS mapping matters for a planning application
Imagine looking at your site without knowing the street. Could you find the entrance, distinguish the house from next door and see which land the application concerns? That is a useful way to judge your map before submitting it.
The national guidance for England calls for an up-to-date location map, an identified scale and north direction. It also explains the boundary colours:
- Red identifies the application site, including all land necessary for the development. That can include access from the public highway, parking, landscaping and visibility splays.
- Blue identifies other land owned by the applicant close to or adjoining the application site.
Necessary access does not belong outside the red line just because it is beyond the main garden. Equally, the application boundary is not automatically every piece of land you own. If access is shared or ownership is uncertain, ask your adviser about the boundary and associated ownership paperwork.
There is a separate limit to bear in mind. OS explains that its maps show physical features rather than legal property boundaries. A fence line on the map does not establish who owns the land or who may use a track.
The national guidance above applies to England. Check the relevant national and local requirements elsewhere in the UK.
Choosing the correct OS mapping scale
Start with the type of drawing requested, then check how much land needs to fit. A larger-looking map is not automatically the better choice. It may cut off the access, a neighbouring building or the road that helps identify the site.
Location plans at 1:1250 or 1:2500
A location plan shows the site in its wider setting. At 1:1250, 1cm on the plan represents 12.5m on the ground. At 1:2500, it represents 25m, so the same-sized map frame covers a wider area.
For a house in a built-up street, 1:1250 often gives enough context. A large rural plot may need 1:2500 or a larger sheet. Check the preview rather than choosing from the postcode alone. The important point is whether someone unfamiliar with the property can identify it clearly.
Site and block plans at 1:500 or 1:200
A site plan, also called a block plan, provides the closer view. The Planning Portal describes typical scales of 1:200 or 1:500. Here, 1cm represents 2m or 5m respectively.
The finished drawing may need the proposed building footprint, dimensions, access and parking arrangements. Buying the mapping supplies a base; you or your designer may still need to add that information.
For example, a garage proposal needs more than the word “garage” in the garden. Its position, size and relationship to nearby features need to be clear. Enlarging the map helps you read it, but does not increase the accuracy of the underlying survey.
Creating a usable planning map
Search for the property, then check the buildings and road layout before selecting the map area. For a field or a site without a postcode, use Advanced Search. The nearest address may lead you to the right neighbourhood without identifying the correct plot.
Choose the scale and paper size, position the map and draw the agreed boundaries. Keep the lines clear without covering useful detail. Our location and site plans include a north arrow, scale bar and licence information, so you do not need to add these yourself.
Before paying, make two separate checks.
First, compare the map with the site you know. Look at the entrance, buildings and neighbouring plots. If a recent change matters to the application but is missing, raise it with your designer or our team rather than ignoring it.
Then look at the preview as a new reader would:
- Can you identify the property and its road access?
- Does the whole application site fit within the map area?
- Are boundaries and labels readable at the intended paper size?
- Do you know who will add the proposed works?
You can find your council's guidance through our sister website, then follow through to the council's current checklist. It is worth doing this before ordering, particularly if the application needs more than the usual plans.
If the drawing tools are causing trouble, ask us. In a review on our homepage, S P George described Evelyn helping to draw boundary lines and add a road name for a rural area. Sometimes a little help with the map makes the next step much easier.
Common OS mapping mistakes to avoid
The first is expecting one plan to do two jobs. A location plan explains where the site is; a proposed site plan explains the layout. A close-up can lose the wider context, while a wider view can make a small extension difficult to see.
Another is assuming a recently purchased map must show every recent change. OS publishes Topography Layer updates every six weeks, but that is not a promise to survey every property that often. Its revision policy explains the different timescales. A newly built garage or changed access may not yet be recorded. Check what is shown, not just the date on the document.
Avoid treating a screenshot as your finished plan. Use the purchased file, keep the copyright and licence details visible, and follow the terms supplied with the product. Preview access is not permission to reuse the preview. Ask before making extra copies or using the mapping for another purpose if the licence is unclear.
Finally, watch the print settings. Use the stated sheet size and actual size or 100%, rather than “fit to page”. Shrinking the page changes the printed scale even though the scale label still says the same thing. Open and check the downloaded file as well as the online preview.
When you may need more than a standard plan
An OS map cannot answer every site question. A steep plot may need a measured topographical survey; protected trees, drainage or highways issues may need specialist information. Ask the person preparing the application what evidence is needed before ordering extra material.
If your architect needs editable mapping, our DWG and DXF files are georeferenced. Our PDFs are not georeferenced. Agree the format and coverage with the designer, including whether any height data is needed. For an awkwardly shaped site, bespoke mapping may be worth discussing.
Ready to start? Choose your plan, check the preview and make sure the proposed works are clearly distinguished from the existing mapped features. If you're unsure which product fits, call 01856 898 022. We can help with the mapping; your council's requirements and the details of your proposal determine what the completed application needs.
Ready to Get Your OS Plans?
Every plan is instantly downloadable, Planning Portal‑compliant, and includes all required elements. Get your plan now and submit your application with confidence.